Images are fundamental to digital content creation but you can NOT take a website image and turn it into a six foot banner in your trade show exhibit. It just does not work! Whether you’re creating a trade show graphic, banner stand, website, publishing a blog post, or posting on social media, using high-quality images is an absolute must. But what do you do when an image isn’t sized correctly for a specific use case? In this post, you’ll learn five easy and quick ways to resize any image without losing quality. Then we’ll take a brief look at other image resizing tools so you can find the right one for your marketing project.
Why It’s Important to Resize Images (Without Losing Quality)
Imagine two online stores selling the same pair of shoes, but one has blurry product photos while the other has crystal clear ones. Which store are you more likely to buy from? Probably the second store. Here’s why.
Aside from showcasing the product properly, having well-formatted images on a page conveys professionalism. On the flip side, messy images imply a lack of competence. The buyer thinks, “If they can’t get the images right, can I trust that they’ll get the products right?” This is what happens when you resize an image and sacrifice quality. Sure, the image will fit into your banner or post, but at what cost?
But why is this so important? A recent study found that load speed considerably impacts conversions. For example, the study found that sites that load in one second have three times higher conversion rates than sites that load in five seconds. This means you can’t afford to sacrifice a single second of load time.
Guidelines for Resizing an Image Without Losing Quality
Dimensions When Reducing Image Pixel Size
There’s no standard width or height you should aim for when resizing your image's pixels. It will depend on a variety of factors, including where you’re putting them on your website, whether the majority of your visitors are using desktop or mobile, and so on. Between 600 to 1200 pixels should work well for most screen sizes, while still maintaining quality.
KB File Sizes When Compressing an Image
A rule of thumb is that you want to strike a balance between the lowest file size and an acceptable quality. Generally, an image file size of 100KB or less is acceptable. Some quality loss will happen, but it won’t be noticeable if done properly.
Resizing JPG vs Resizing PNG Images
Generally, JPG files can be resized and compresssed much more easily than PNG files. When you do compress a PNG file, we recommend converting it to a JPG file to keep quality high while drastically reducing your KB file size. The only exception is if you're compressing PNG images with transparency — you want to keep the same file type, but adjust the image's pixel size.
Let’s look at how you can resize images with some of the most popular tools out there. We'll cover:
How to Resize an Image Without Losing Quality
- Create a new project in Adobe Express.
- Upload your image.
- Resize your image.
- Adjust your image.
- Download your image.
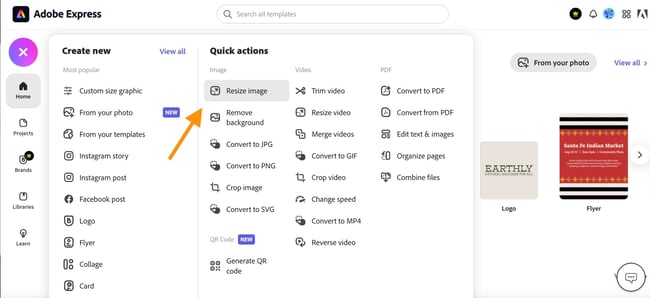
Step 1. Create a new project in Adobe Express.
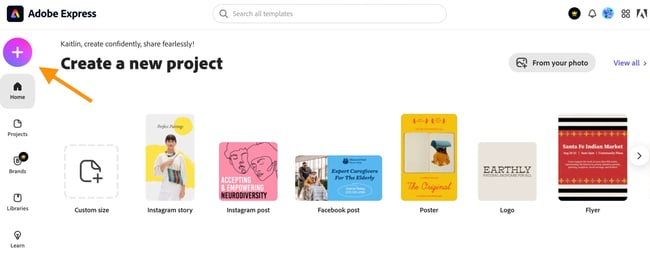 Click the “plus” icon on the Adobe Express homepage. This will open the quick actions menu. From here, select “Resize image.”
Step 2. Upload your image.
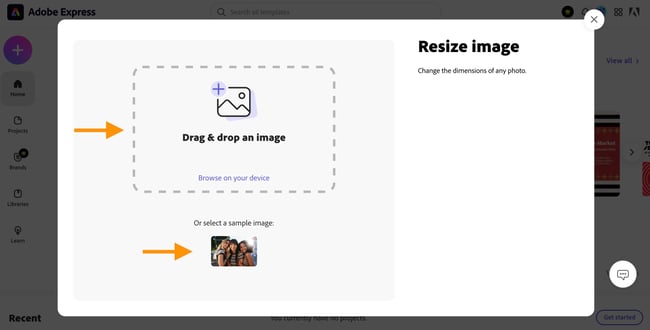 This pop-up will then appear. You can upload the image you want to resize by either dragging and dropping it into the square or browsing on your device.
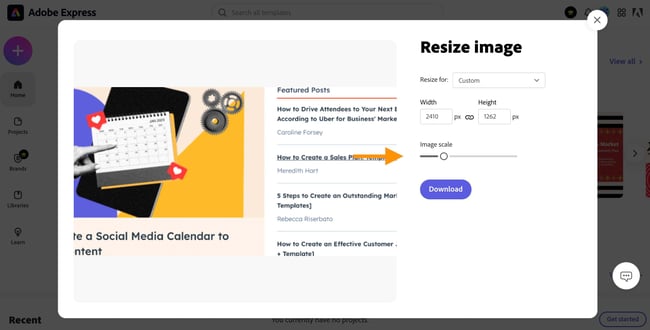
Step 3. Resize your image.
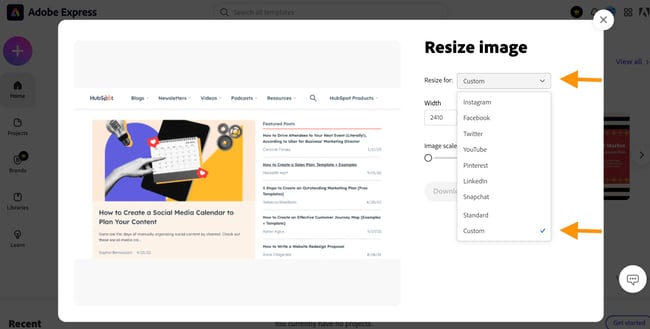 Resize your image by either using one of the available templates or inserting custom dimensions. The templates are preset dimensions based on the requirements for various social media platforms.
Step 4. Adjust your image.
 If you’re not happy with crop, you can also adjust your image further by panning the image (dragging it from left to right) or changing the scale of the image with the slider.
Step 5. Download your image.
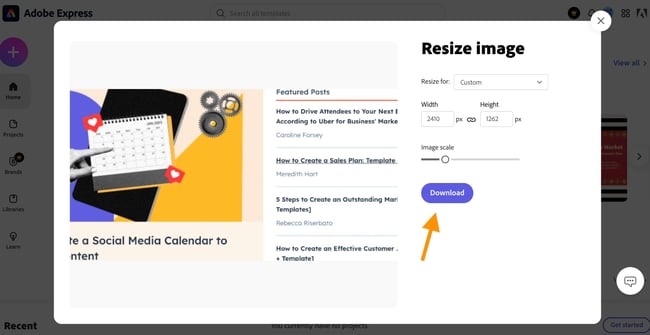 Finally, click “Download” to save your resized image to your device. You can then upload to your website, blog, or social media page.
How to Reduce Image Size in Photoshop
Step 1. Import your image.
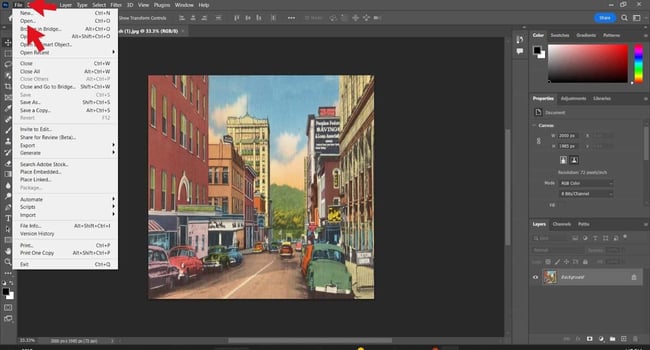 Import your image by clicking “File” and navigating to “Open.” You then have to browse your device and select the image you want to resize.
Step 2. Unlock the background layer.
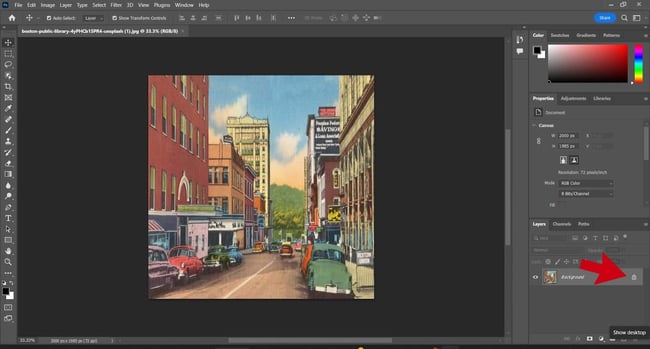 Navigate to the right-hand panel and unlock the background layer. You must do this to be able to edit your image.
Step 3. Change image dimensions.
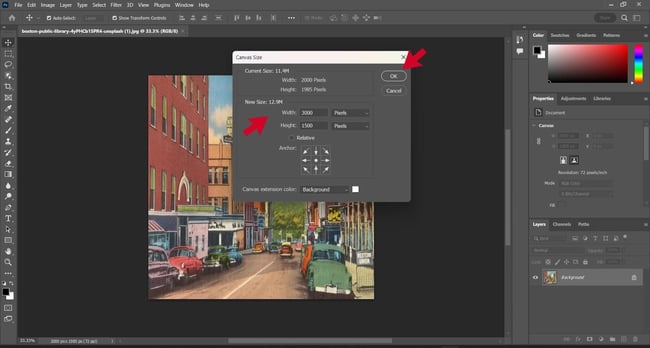
 Navigate to the menu bar in the header and click on “Image.” Select “Canvas Size” from the dropdown menu. You can then change the canvas dimensions in the “New Size” section of the pop-up box to your desired dimensions. Click “OK” to proceed.
Step 4. Adjust image within canvas.
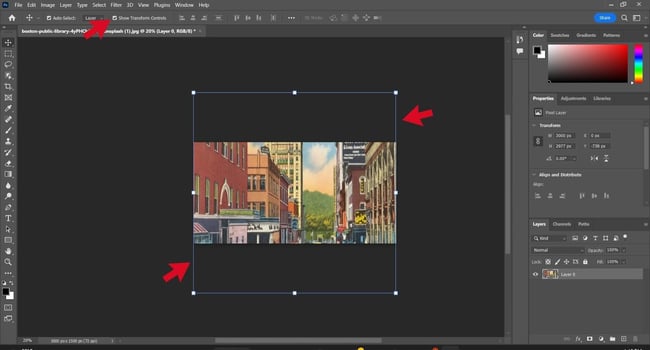 Drag your image around and adjust the edges until it fits into your newly sized canvas. Press the “enter” key on your keyboard once you’re satisfied.
Note: Ensure the “Show Transformation Controls” box is ticked, as this is what allows you to manipulate the edges of your image.
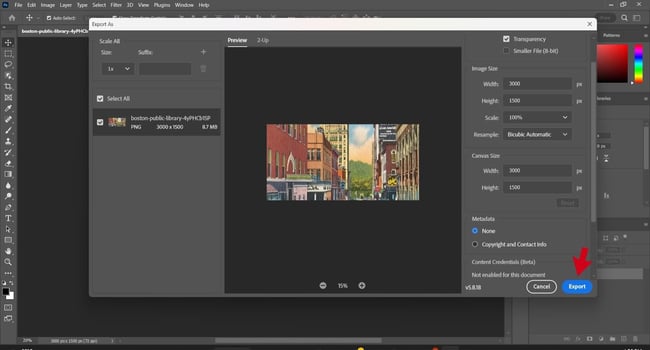
Step 5. Save your resized image.
 To save your resized image to your device, select “File” from the header menu bar. Then, navigate to “Export” in the dropdown menu and click “Export As.” This allows you to choose the format for your image (PNG, JPG, etc.). Finally, click “Export” and save to your desired location.
How to Reduce Image Pixel Size in MS Paint
Step 1. Upload an image.
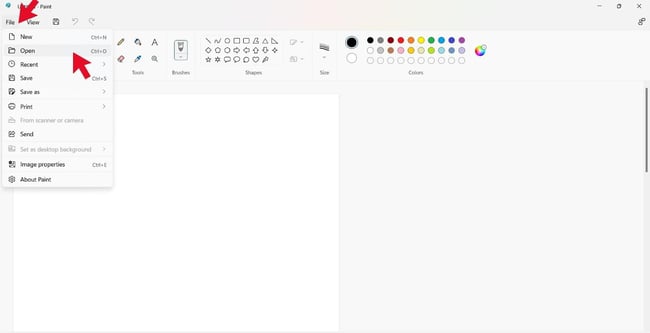 Choose the image you want to resize by clicking “File” on the menu bar and selecting “Open” from the dropdown menu. Select the image you want to upload from your device.
Step 2. Zoom out.
 Once the image is open, if necessary, zoom out using the slider on the status bar at the bottom of the page to bring the image into focus.
Step 3. Crop the image.
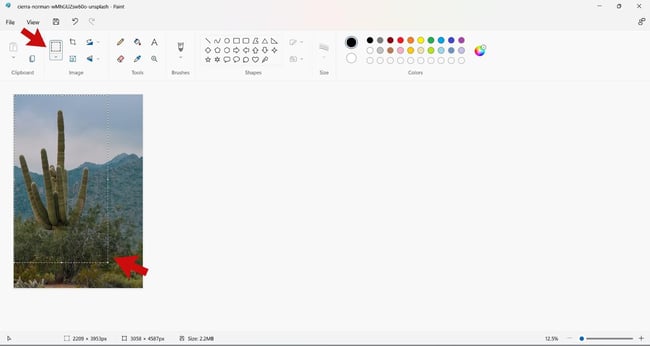 If you want to crop out a portion of your image, click the square “select” icon and trace the area you would like to keep in the image. Once satisfied, click the “crop” icon to crop the image.

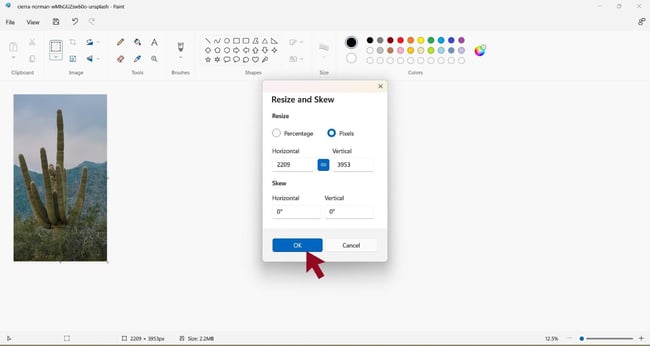
Step 4. Resize the image.
 Click the “resize” icon to resize the image. This will open up a window with options to resize and skew the image. You can resize the image by percentage or pixel, depending on your preference. Click “OK” to save your changes.
Step 5. Save image.
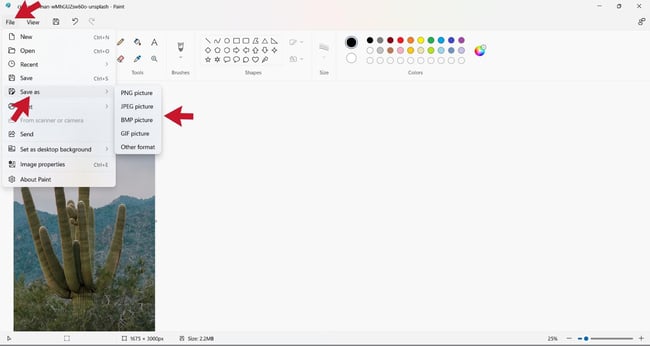 Finally, to save your newly resized image, click “File” on the menu bar and navigate to “Save As” on the dropdown menu. This will allow you to choose the format to save your image.
How to Resize JPG & PNG Files in Canva
Step 1. Select image from your device.
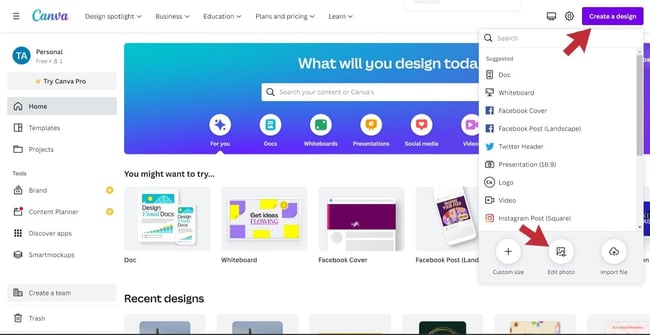 To begin, click “Create a Design” and navigate to “Edit Photo” on the dropdown menu. This will allow you to select an image from your device.
Step 2. Click “Use in a design.”
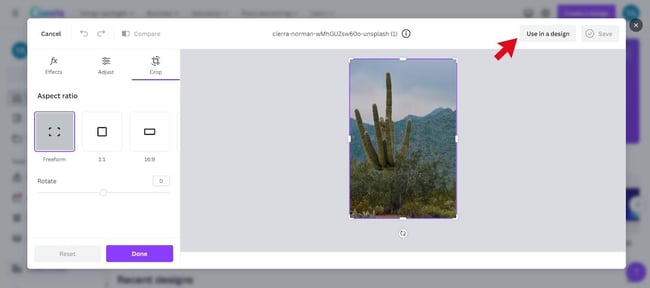 Click “Use in a design” which will allow you to access more image editing features, including resizing.
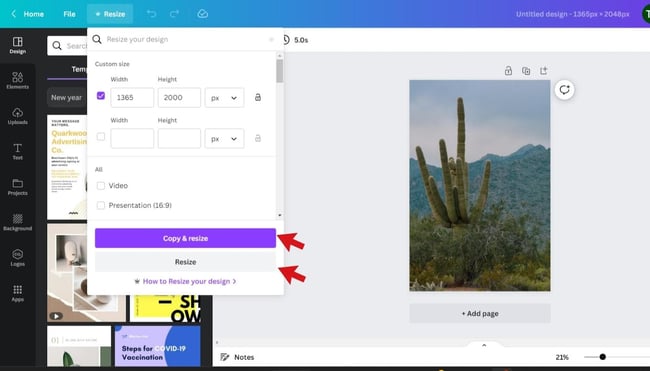
Step 3. Resize the image.
Select “Resize” from the header menu. This will trigger a dropdown menu where you can manually change the image dimensions or select a template.
Note: This feature is only available in premium plans. However, free users can access a 30-day trial.
 Once you’ve set your new image dimensions, save your changes by either clicking “Copy and Resize” — which will create a resized copy of your image — or “Resize” — which will resize your original image.
Step 4. Save your image.
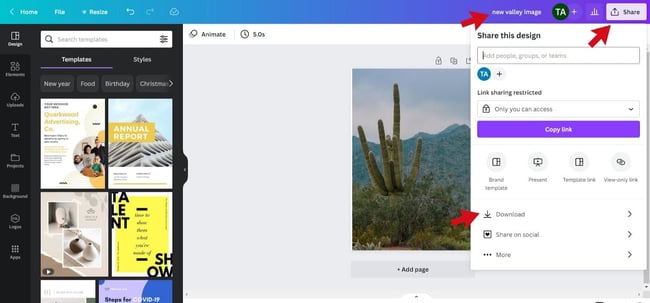 Finally, to save your resized image, rename it in the header bar, then click the “Share” button also located in the header. This will trigger a dropdown menu where you will have the option to download the image.
How to Resize an Image to 100KB
- Go to Squoosh and upload your image.
- Adjust image size.
- Compress your image.
- Download the compressed image.
As mentioned, when compressing an image to or under 100KB, some quality loss will happen, but it won’t be noticeable if done properly. Here we’ll look at how to compress an image in Squoosh.
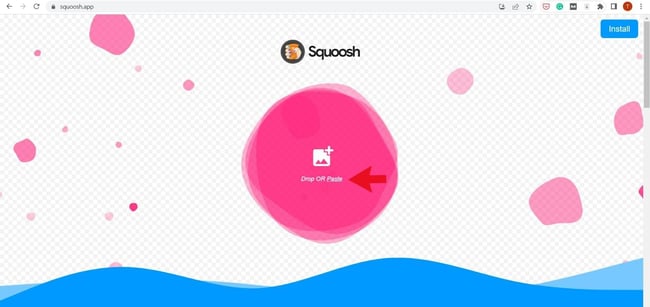
Step 1. Go to Squoosh and upload your image.
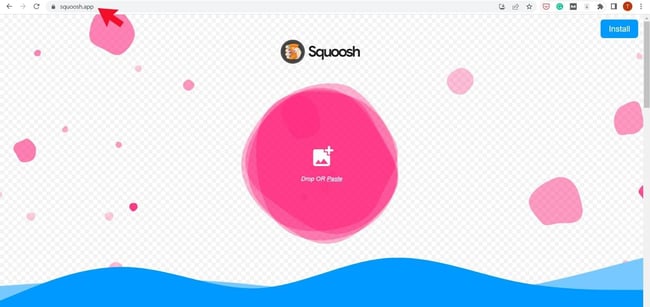 First, open Squoosh in your web browser or as a desktop application. To insert your image, you can either copy and paste it into the pink spot or drag and drop it there.
You can also retrieve it from your device by clicking the image icon on the page.
Step 2. Adjust image size.
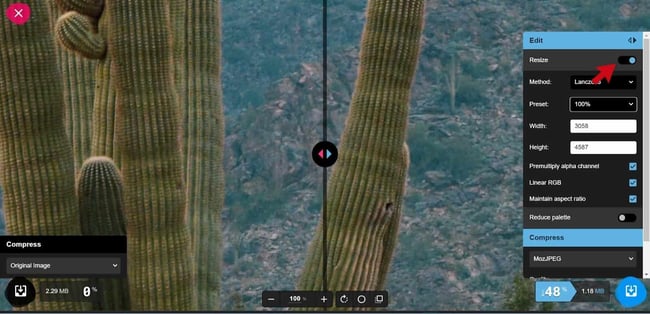 Toggle the resize icon on the menu bar. This will trigger a dropdown menu where you can adjust the pixel width and height of the page.
Step 3. Compress your image.
To view compression options in Squoosh, open the dropdown menu under “Compress.” You’ll see several options listed, but there are three that will probably be your go-tos. These are:
-
MozJPEG. This method compresses images in the JPEG/JPG format. The JPG format is best for highly detailed images like photographs. It is a lossy format, meaning that the compression process removes some data permanently from the image.
-
OxiPNG. This method compresses images in the PNG format. The PNG format is better for image files with lower levels of detail, like graphics and illustrations. PNG is a lossless format, meaning that no data is removed during compression.
-
WebP. WebP is a relatively new file format developed by Google that aims to produce smaller file sizes than JPG and PNG while retaining quality. You can learn more about WebP here.
Step 4: Download your image.
.jpg?width=650&height=315&name=squoosh-4%20(1).jpg) Once you’ve set your new dimensions and compressed your image so it’s under 100KB, click the download icon on the bottom right corner of the page.
Once you’ve set your new dimensions and compressed your image so it’s under 100KB, click the download icon on the bottom right corner of the page.
How to Make a PNG Smaller Without Losing Quality
To resize a PNG file without losing quality, use a lossless compression tool that supports transparency and PNG files. There are many compression tools available online that can do this for free.
You can choose a PNG resizing tool that fits your preferences, but most of these tools work the same while retaining transparency and image quality. Here are some options we recommend:
- Adobe Express: The free online image resizer from Adobe works with PNGs. You can resize your image while retaining quality, as well as apply dimensions optimal for social media posts.
- Biteable: When resizing PNGs, it doesn’t get much simpler than Biteable. Upload your image, set your dimensions, and download.
- Squoosh: In addition to applying compression, you can also resize images (including PNGs) inside of the Squoosh tool. This is useful if you want to apply resizing and compression with the same tool.
Below, we go over more options.
Image Resizing Tools
Manually resizing each and every image you upload to your website would require a huge investment of time and energy — and likely some experience in graphic design. The good news is you can simplify the process with an image resizing tool.
Below is a collection of the best image resizing tools. They range in functionality and price so you can choose the right one for your needs and budget. Let’s get started.
Resizing.app
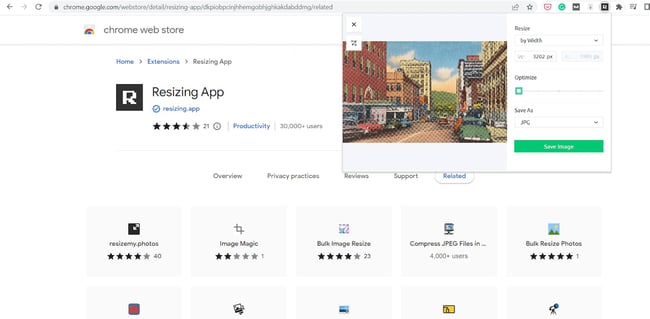 Resizing.app is a free Chrome extension that allows users to resize images right in their browsers. It features an incredibly simple interface.
Clicking the extension triggers a pop-up page that instructs the user to click an icon to upload an image. Then, once the image is uploaded, the user can resize the image by width, height, percentage, or using custom dimensions.
Once you resize the image, you can optimize it with the sliding scale and convert it. One drawback of this tool is that it doesn’t show the file size when you’re optimizing it. That can make it difficult to know when to stop sliding the scale to the right.
Pricing: Free
BeFunky
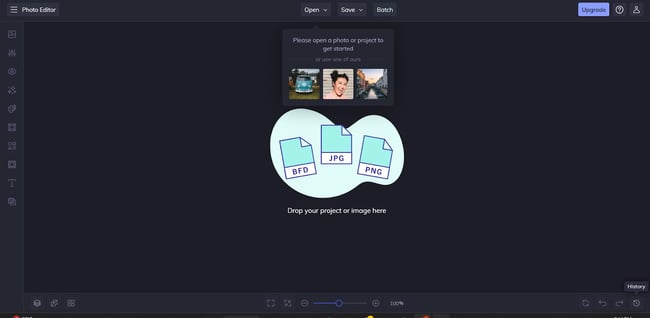 BeFunky is a web-based image editor that allows users to edit photos, create collages, and design digital assets such as banners and flyers. It’s designed to be Photoshop for beginners. It’s rich with features but presented in a user-friendly interface.
With BeFunky’s Batch Image Resizer, you can even resize images in bulk instead of one by one. There’s a free version with 125 digital effects available, and a premium version with hundreds more.
To resize an image with this tool, you can import the image directly from your computer, choose an image from your Google Drive, or simply drag and drop images into the editor.
Once the image is in the editor, the rest is pretty simple — select the “Edit” menu and navigate to “Resize.” This will trigger a pop-up window where the image can be resized by width, height, or scale.
Pricing: A free version is available. The paid version costs $4.99 a month billed annually or $9.99 a month billed monthly.
PicResize
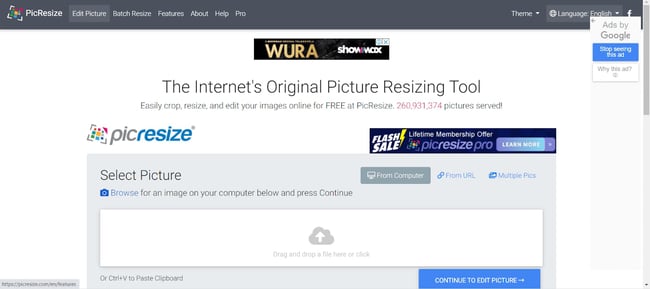 PicResize is a web-based, image-resizing tool that allows users to crop, resize, and convert images. The standout feature of this tool is the ability to resize images in bulk using a feature called “BatchResize.”
This feature allows users to upload up to 100 pictures at once, resize these images using a single parameter such as “make my pictures X% smaller,” and finally save the images in JPG, GIF, or PNG format.
Once complete, users can download the resized images as a Zip folder.
It’s important to note two things.
-
The free version of PicResize is only for shrinking photos. You’ll have to purchase PicResize Pro to enlarge them.
-
You can only compress JPG file formats. Instead of a slider, there’s a dropdown menu with the options: good, better, best. While you can’t see the image file size, you can set a maximum file size.
Pricing: A free version is available. The paid (ad-free) version costs $75 for lifetime access.
GIMP
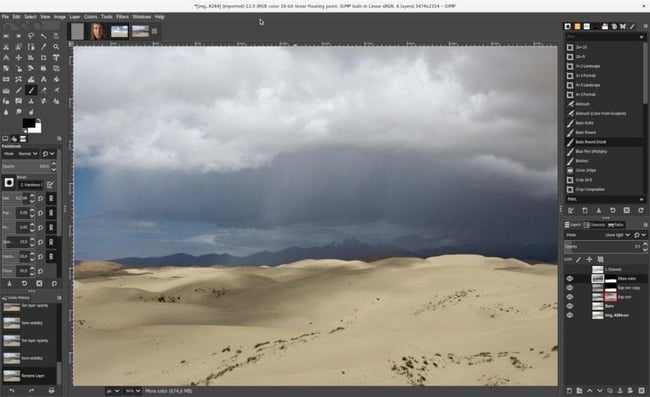 GIMP is a free, open-source tool. However, unlike the other tools on this list which are web-based, this tool is a downloadable program.
Although you can use this program for resizing, it is designed as an “image manipulation program.” It has many other powerful features, such as photo enhancement and digital retouching.
To resize an image on GIMP, users can either insert fixed dimensions (similar to other tools on this list) or resize the image completely freehand by dragging the corners of the image.
Pricing: Free
Resize your images in a few simple steps.
Let’s face it: Whether you’re a site owner, social media marketer, or blogger, resizing images can easily seem like just another thing in a long list of tasks.
This post was created to teach you how to make this process as easy as possible. So, next time you’re tempted to skip this crucial step, remember that by using the right methods and tools, resizing can be quick and painless.
You can resize your images in less time and improve your website speed and delight your visitors as a result.